Modge Podge Wood Transfers
- Caitlin
- Mar 19, 2020
- 1 min read

I have a fun, super simple DIY project for you today!
I often feel like I take a lot of pictures, but I am not sure what to do with them. I was on Pinterest looking for something to do with them when I saw that you can use Modge Podge to transfer photos onto wood. I thought this was the coolest thing and I of course needed to try it out for myself.

You will need the following:
photos - They need to be copies of photos, DO NOT USE photo paper. They will not transfer properly. Also, use a laser printer, not inkjet.
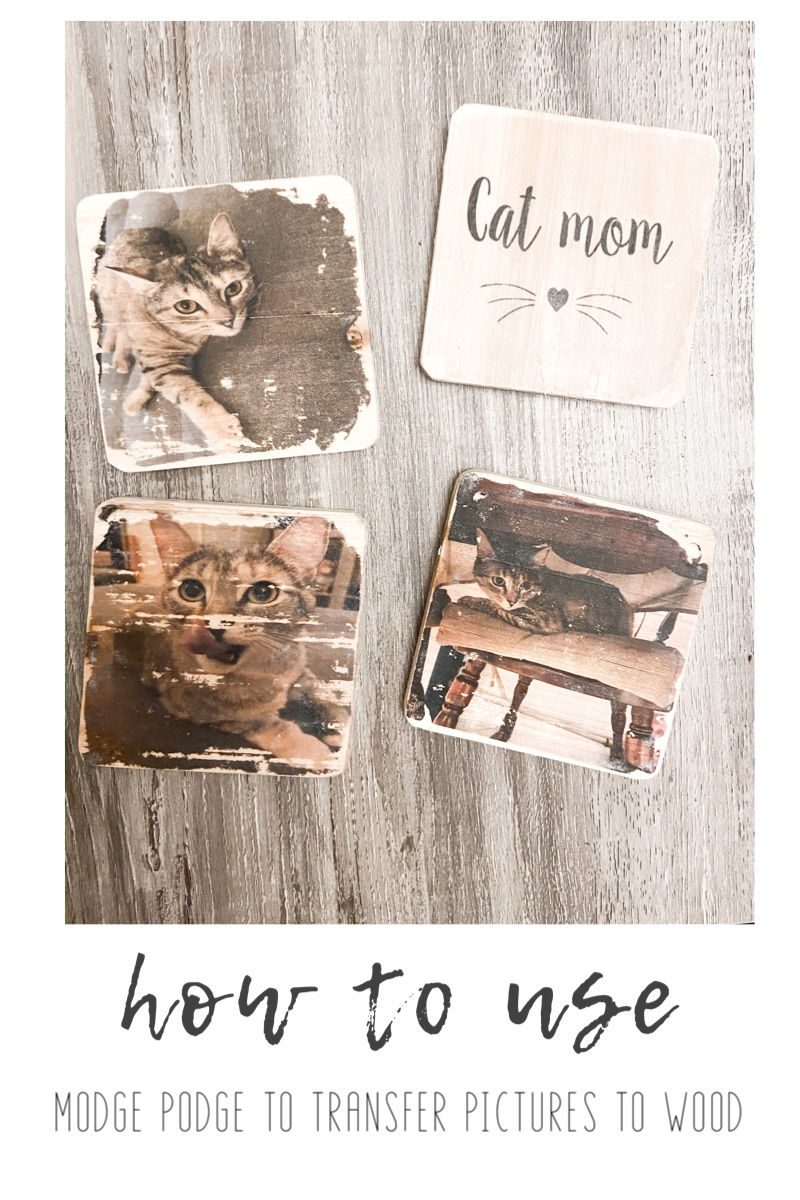
wood - I used coasters but any type of wood will work here. I think wood slices would be an adorable idea.
Modge Podge
paint brush
You will want to cut your picture to size. Add a layer of Modge Podge to your wooden surface and place the photo picture side down. Let dry. This is a very important step. If you don’t wait long enough they will not transfer properly.

Once they are dry, take a damp cloth and wet the photo. Gently use your fingers to rub the white paper off. You may need to do this a couple of times to ensure that all of the paper is removed.

Lastly, you will add a coat of Modge Podge to set the image.
I love how these coasters came out, I may just need to use this idea for Christmas presents this year.


댓글