Halloween Painted Rocks
- Caitlin
- Oct 28, 2019
- 2 min read


I can’t believe that Halloween is already here! It feels like yesterday that I was enjoying spring flowers instead of crunchy leaves.
You may have seen my blog post about creating painted rocks that looked like cacti. If you loved that, I am so excited to show you my Halloween painted rocks!
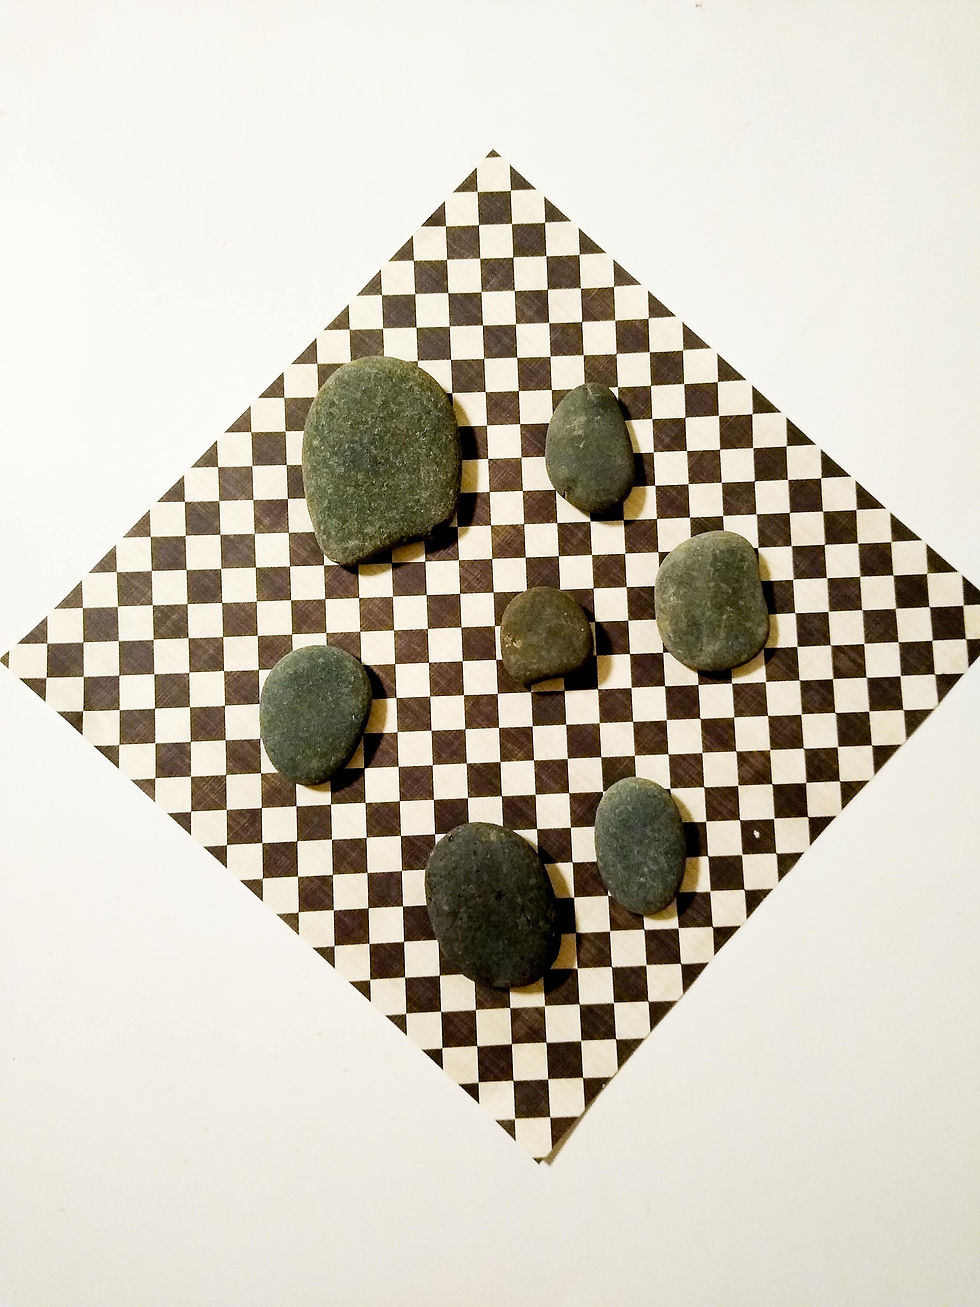
Like any painted rocks, you want to find rocks that fit what you are wanting to create. I knew I wanted to do something Halloween themed, but I wasn’t sure what I was going to make until I found this rock shaped just like a ghost! I found another one shaped like a pumpkin, and finally one that looked like a piece of candy corn. I needed a final design and I wanted to do something with the color green, so I decided on Frankenstein!
When painting rocks, you will want to wash them before you start decorating them. This is a really important step because you want to make sure that the paint sticks, and it won’t it the rocks are dirty. I also sketch out what I want to put on the rocks before I paint. I like to have a clear picture of what they will look like.
I start with painting the background. I painted the pumpkins orange, the Frankenstein green and of course the ghost white. The candy corn was a little more complex with the three colors, but I think I made it work!

After they are dried completely, (I will usually let them dry a couple of days) you are ready to decorate! I used a sharpie for the black, and just a small brush with white acrylic paint for the finer details. I think my favorite rock is the larger ghost. I just love the face! You will want to spray these rocks with a clear coat if you are putting them outside, but after decorating them you are done!

There rocks are such a cute idea to give to your favorite trick-or-treaters or to use a decorations around the house.
HAPPY HALLOWEEN!!!


Comments