DIY Dollar Store Pumpkins
- Caitlin
- Oct 9, 2019
- 2 min read


I saw these adorable DIY dollar store pumpkins on Pinterest the other day and I couldn’t wait to try them out!
I love the dollar store. I promise myself I won’t go crazy in there, but every single time I come out with at least $20 worth of stuff.
The original post for these pumpkins suggests using fabric, but since I really wanted to get everything from the dollar store, and the one I went to didn’t have fabric, I used the next best thing, burlap!
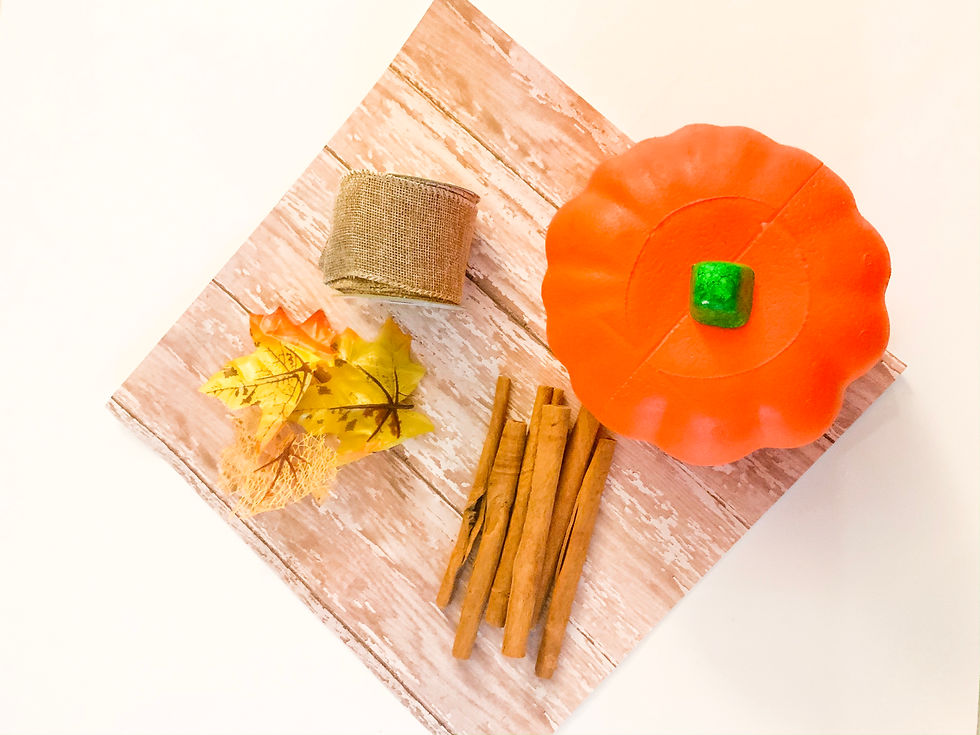
These pumpkins only use five different types of supplies:
Carveable foam pumpkins
Ribbon - I used burlap, but anything will work here
Cinnamon Sticks
Fake Leaves
If you don’t like to see the orange peeking through the ribbon, I would suggest painting the pumpkin first.
Step One:
Carve a large hole at the top of the pumpkin. This gets rid of the ugly stem at the top, and gives you a place to insert the ribbons.
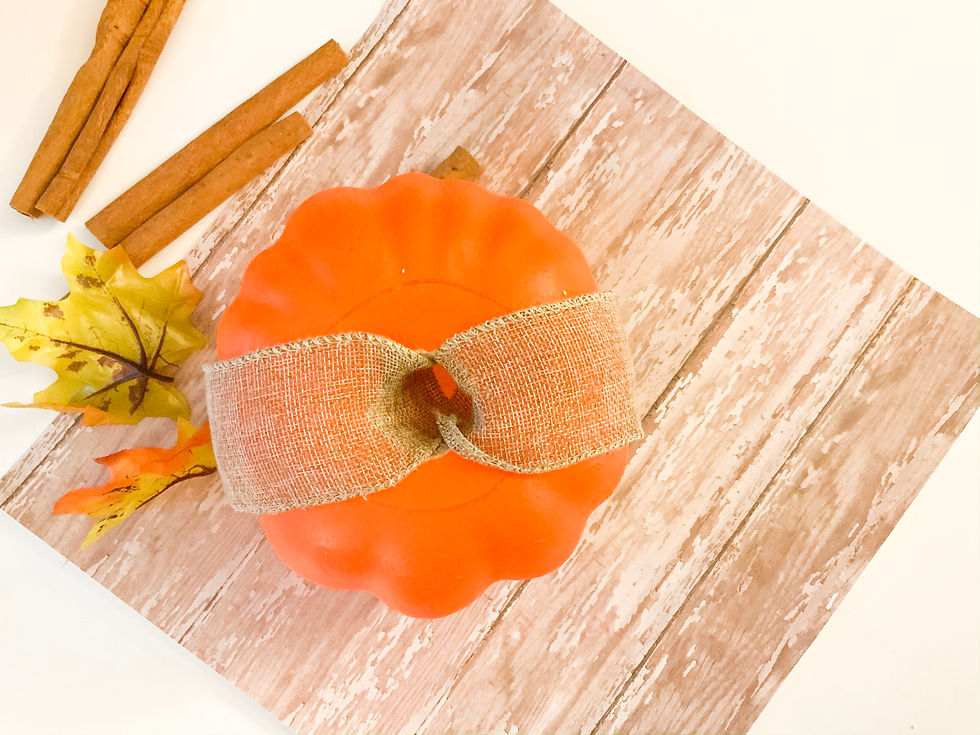
Step Two:
Take the ribbon and start wrapping the pumpkin. I used the ribbon that contains wire, so it was a lot easier to wrap. I suggest buying extra just in case.
Step Three:
After the pumpkin is completely wrapped, you can insert the leaves at the top where the hole is to decorate. This can be optional, but I really liked the way it turned out with the leaves.
Step Four:
Take a cinnamon stick and insert it into the top of the pumpkin as the stem. Depending on the size of the stick you may need to cut it down to ensure that it fits properly.

That is it folks! I loved how super easy these were to create, and of course how cheap they were. The total project took about 20 minutes for the three pumpkins I made. I did this with my step daughter after work last week, and it was such a fun activity. It is perfect for young kids because it doesn’t take a lot of time and you know most kids have short attention spans!
Happy Fall Ya’ll!!


Komentarze